Execute mobile tests with Appium 2.x in Katalon Studio (PoC)
This Proof of Concept (PoC) is not ready for production use. We recommend using this PoC for evaluation purposes only.
Katalon Studio supports seamless integration with Appium 1.x for mobile testing. With the new major release of Appium 2.0, this proof of concept (PoC) provides you the option to execute mobile tests with Appium 2.x. This PoC also contains support for Xcode 14.
When you install Appium 1.x, all available drivers will be installed at the same time as the main Appium server.
In Appium 2.x, one major change is the independence of drivers. The tools and requirements for building and using drivers for different platforms are completely different. The ability to install and work with decoupled web drivers based on your application platform (iOS, Android, etc.) can reduce your setup time and improve mobile testing performance in Katalon Studio.
If your team is migrating from Appium 1.x to Appium 2.x, the changes in Appium 2.0 are not primarily related to changes in automation behaviors for specific platforms.
This document will guide you through configuration steps to execute mobile tests with Appium 2.x.
Requirements
- Download from our GitHub repository: Katalon Studio 8.5.4.beta.
- Node.js 14+.
- Node Package Manager 8+ (NPM). This is usually bundled with Node.js, but you can upgrade independently.
We recommend downloading and installing Node.js from the official website instead of using package manager (e.g., brew or apk).
Install Appium 2.x and execute mobile tests
- In Katalon Studio, select which Appium version to execute your test with. Go to Project Settings > Execution > Mobile and select the option Appium version 2.x (Beta).
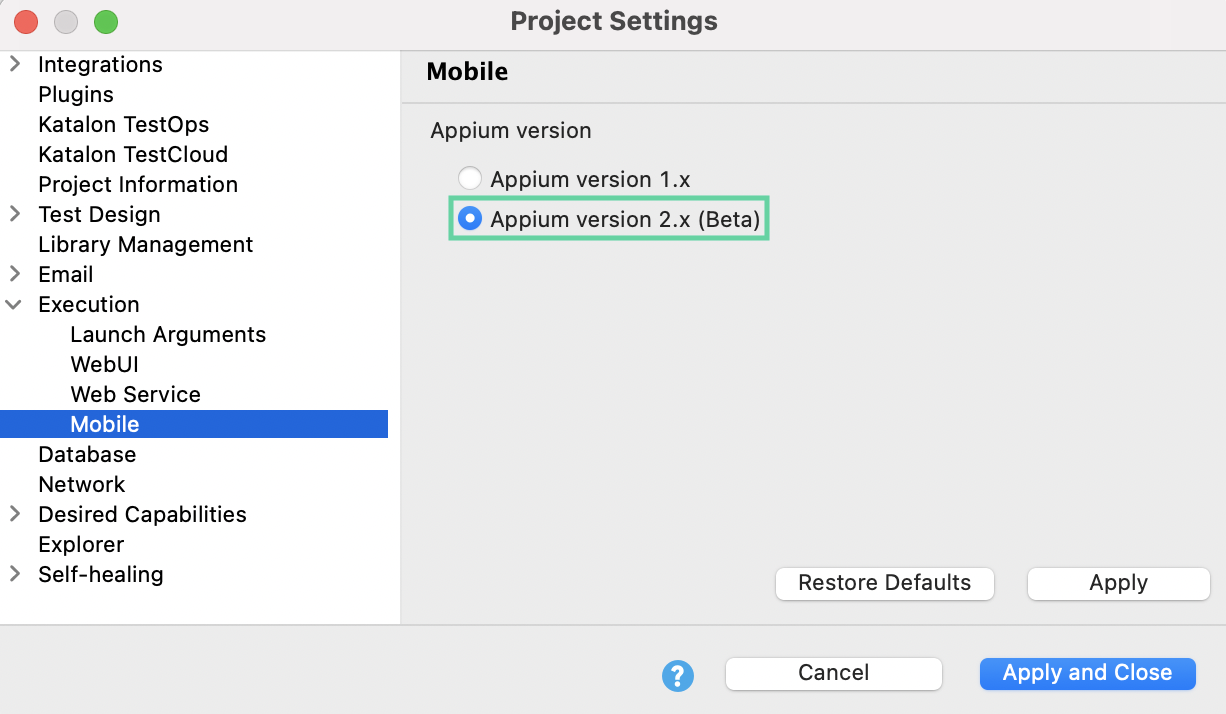 Click Apply and Close.
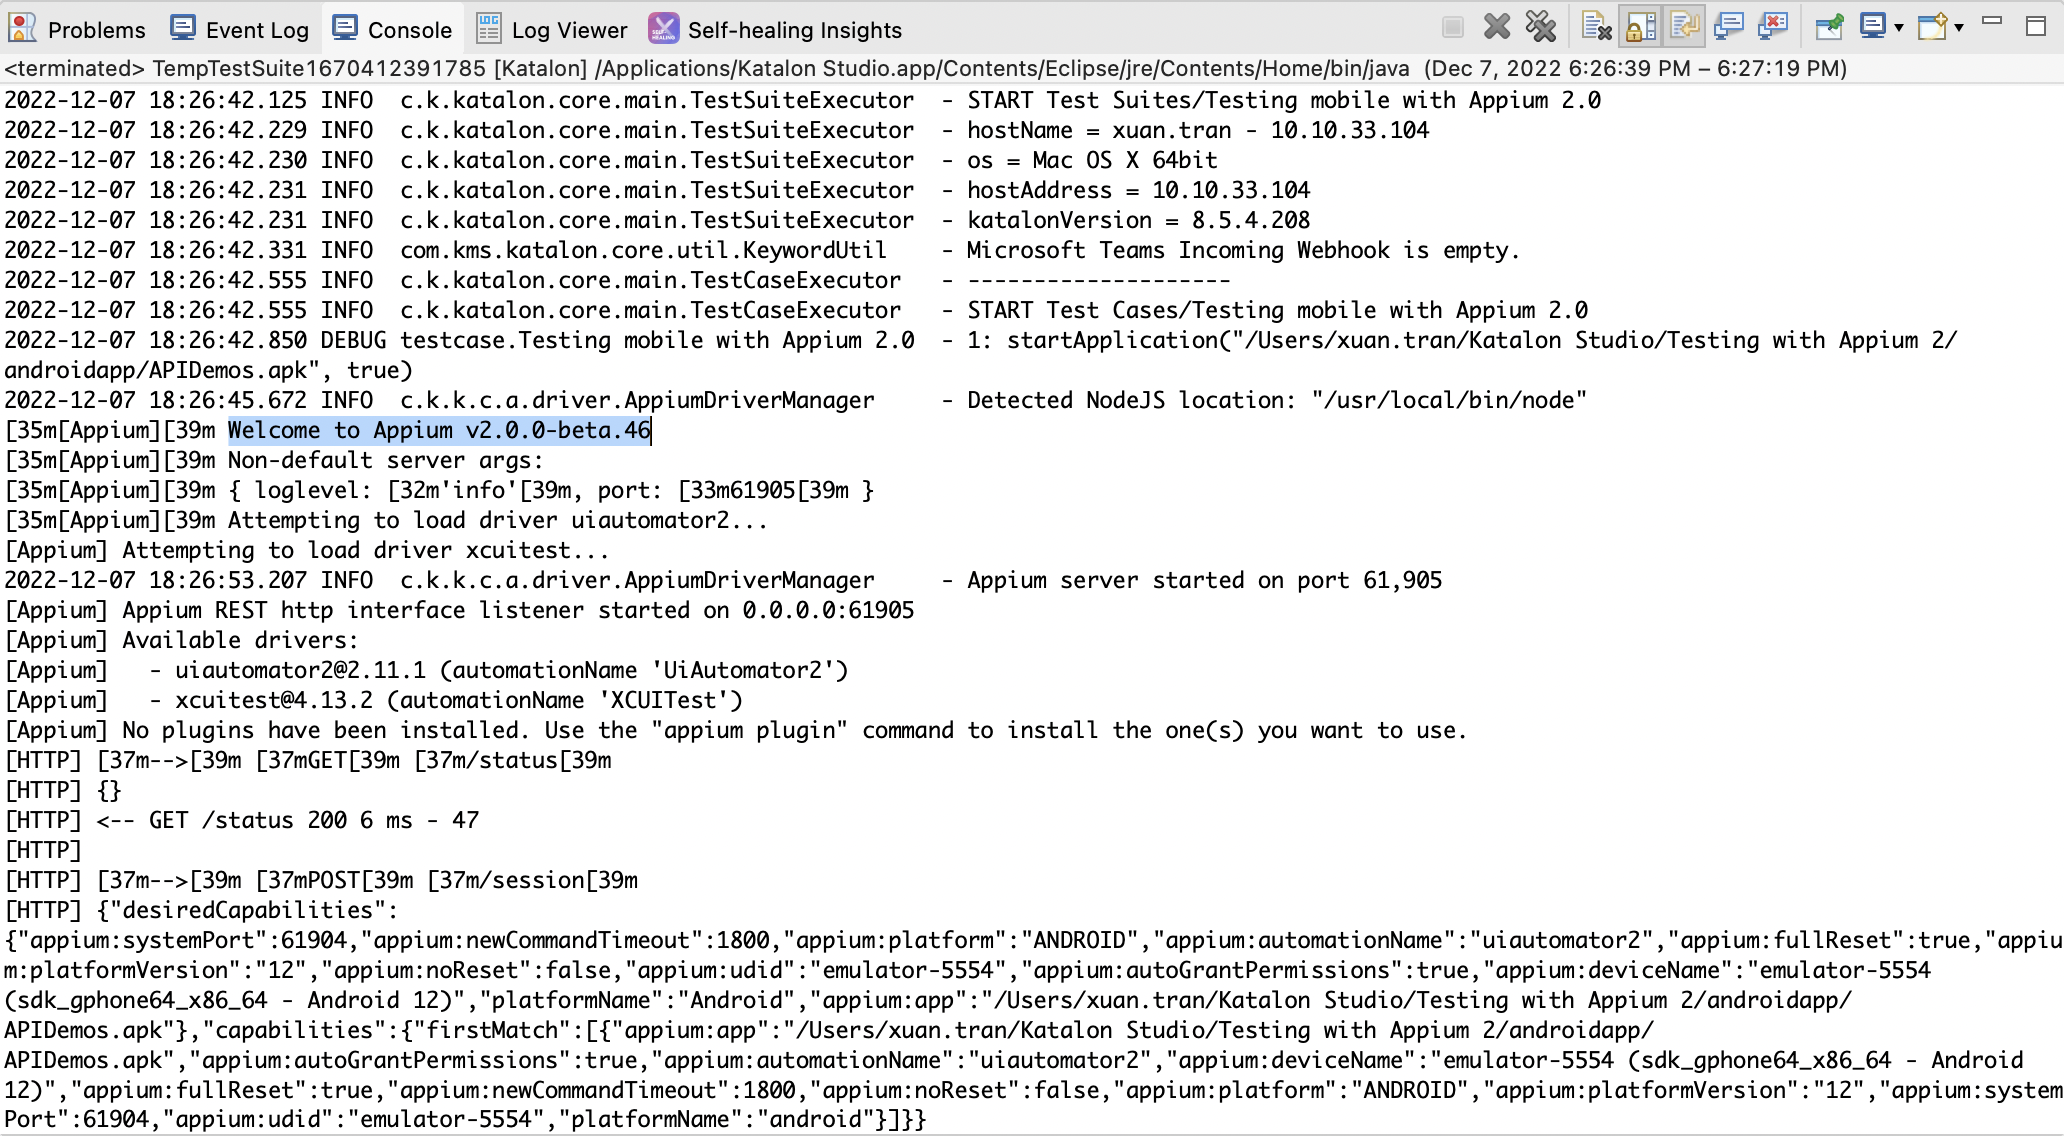
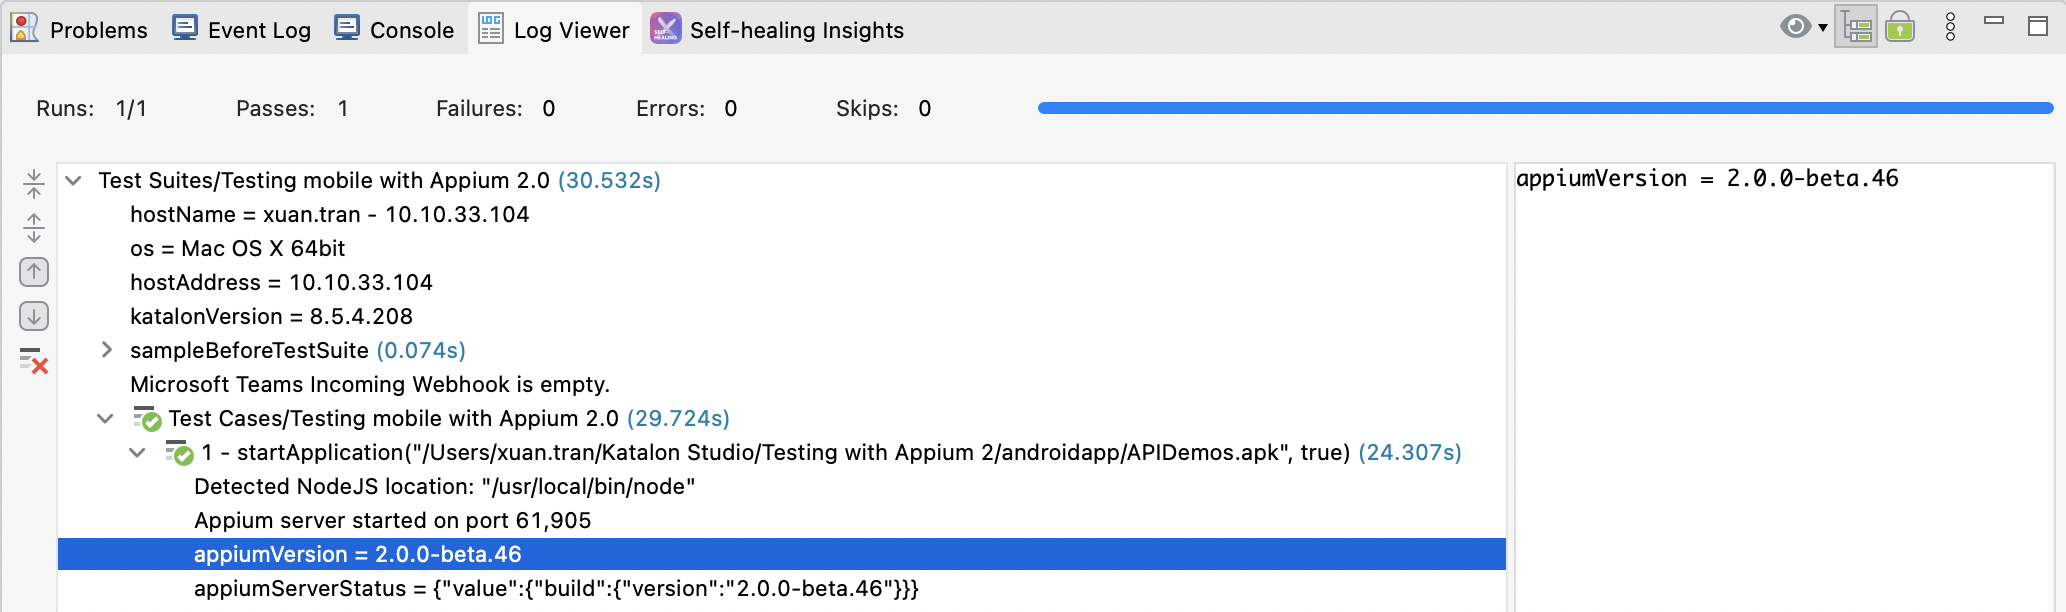
To learn more about execution logs in Katalon Studio, refer to the following document: View and customize execution log in Katalon Studio.
For troubleshooting, refer to the following document: Unable to Start Application on this device: Appium directory is invalid.
Building WebDriverAgent for real iOS devices with Appium 2.0 and Xcode 14
You have installed Appium XCUITest Driver. See Install Appium 2.x and execute mobile tests.
- Build the IntegrationApp target with the following steps:
- Select the IntegrationApp target. In the Signing & Capabilities section, check the Automatically manage signing box, then choose a team added in Step 1.

- Select the IntegrationApp target. In the Signing & Capabilities section, check the Automatically manage signing box, then choose a team added in Step 1.
- Build the WebDriverAgentLib target with the following steps:
- Select the WebDriverAgentLib target. In the Signing & Capabilities section, check the Automatically manage signing box, then choose a team added in Step 1.
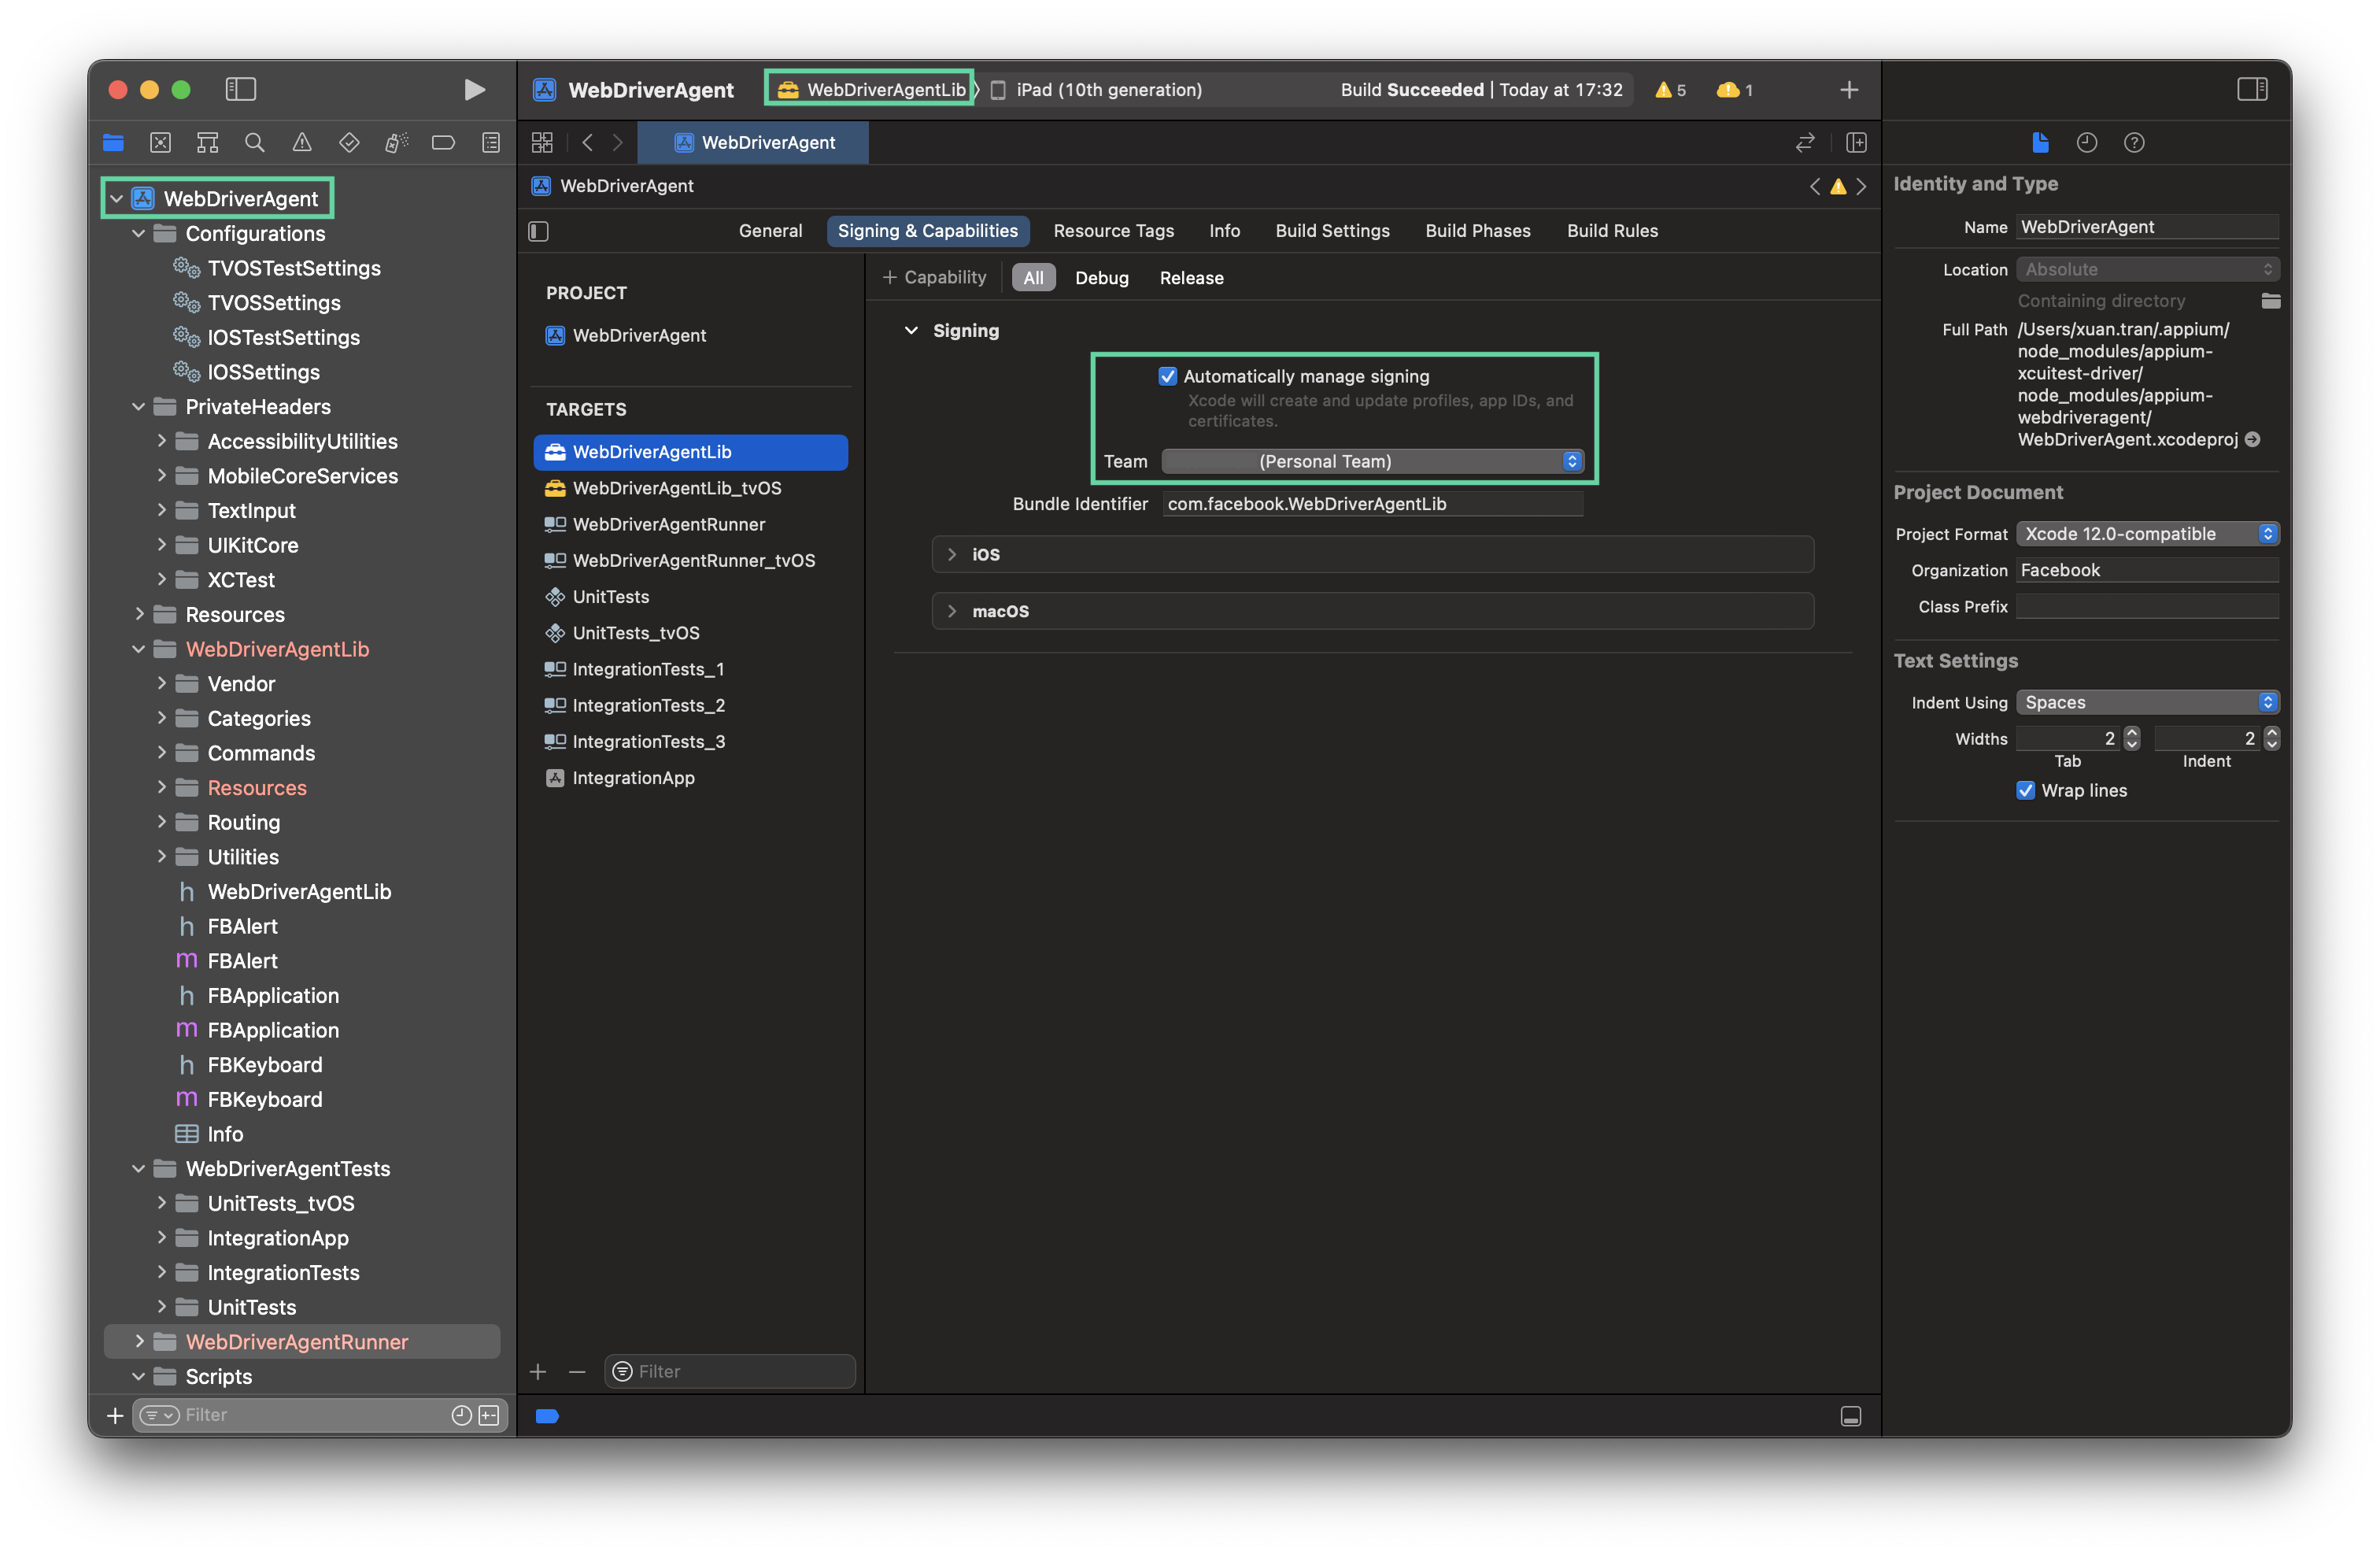
- Select the WebDriverAgentLib target. In the Signing & Capabilities section, check the Automatically manage signing box, then choose a team added in Step 1.
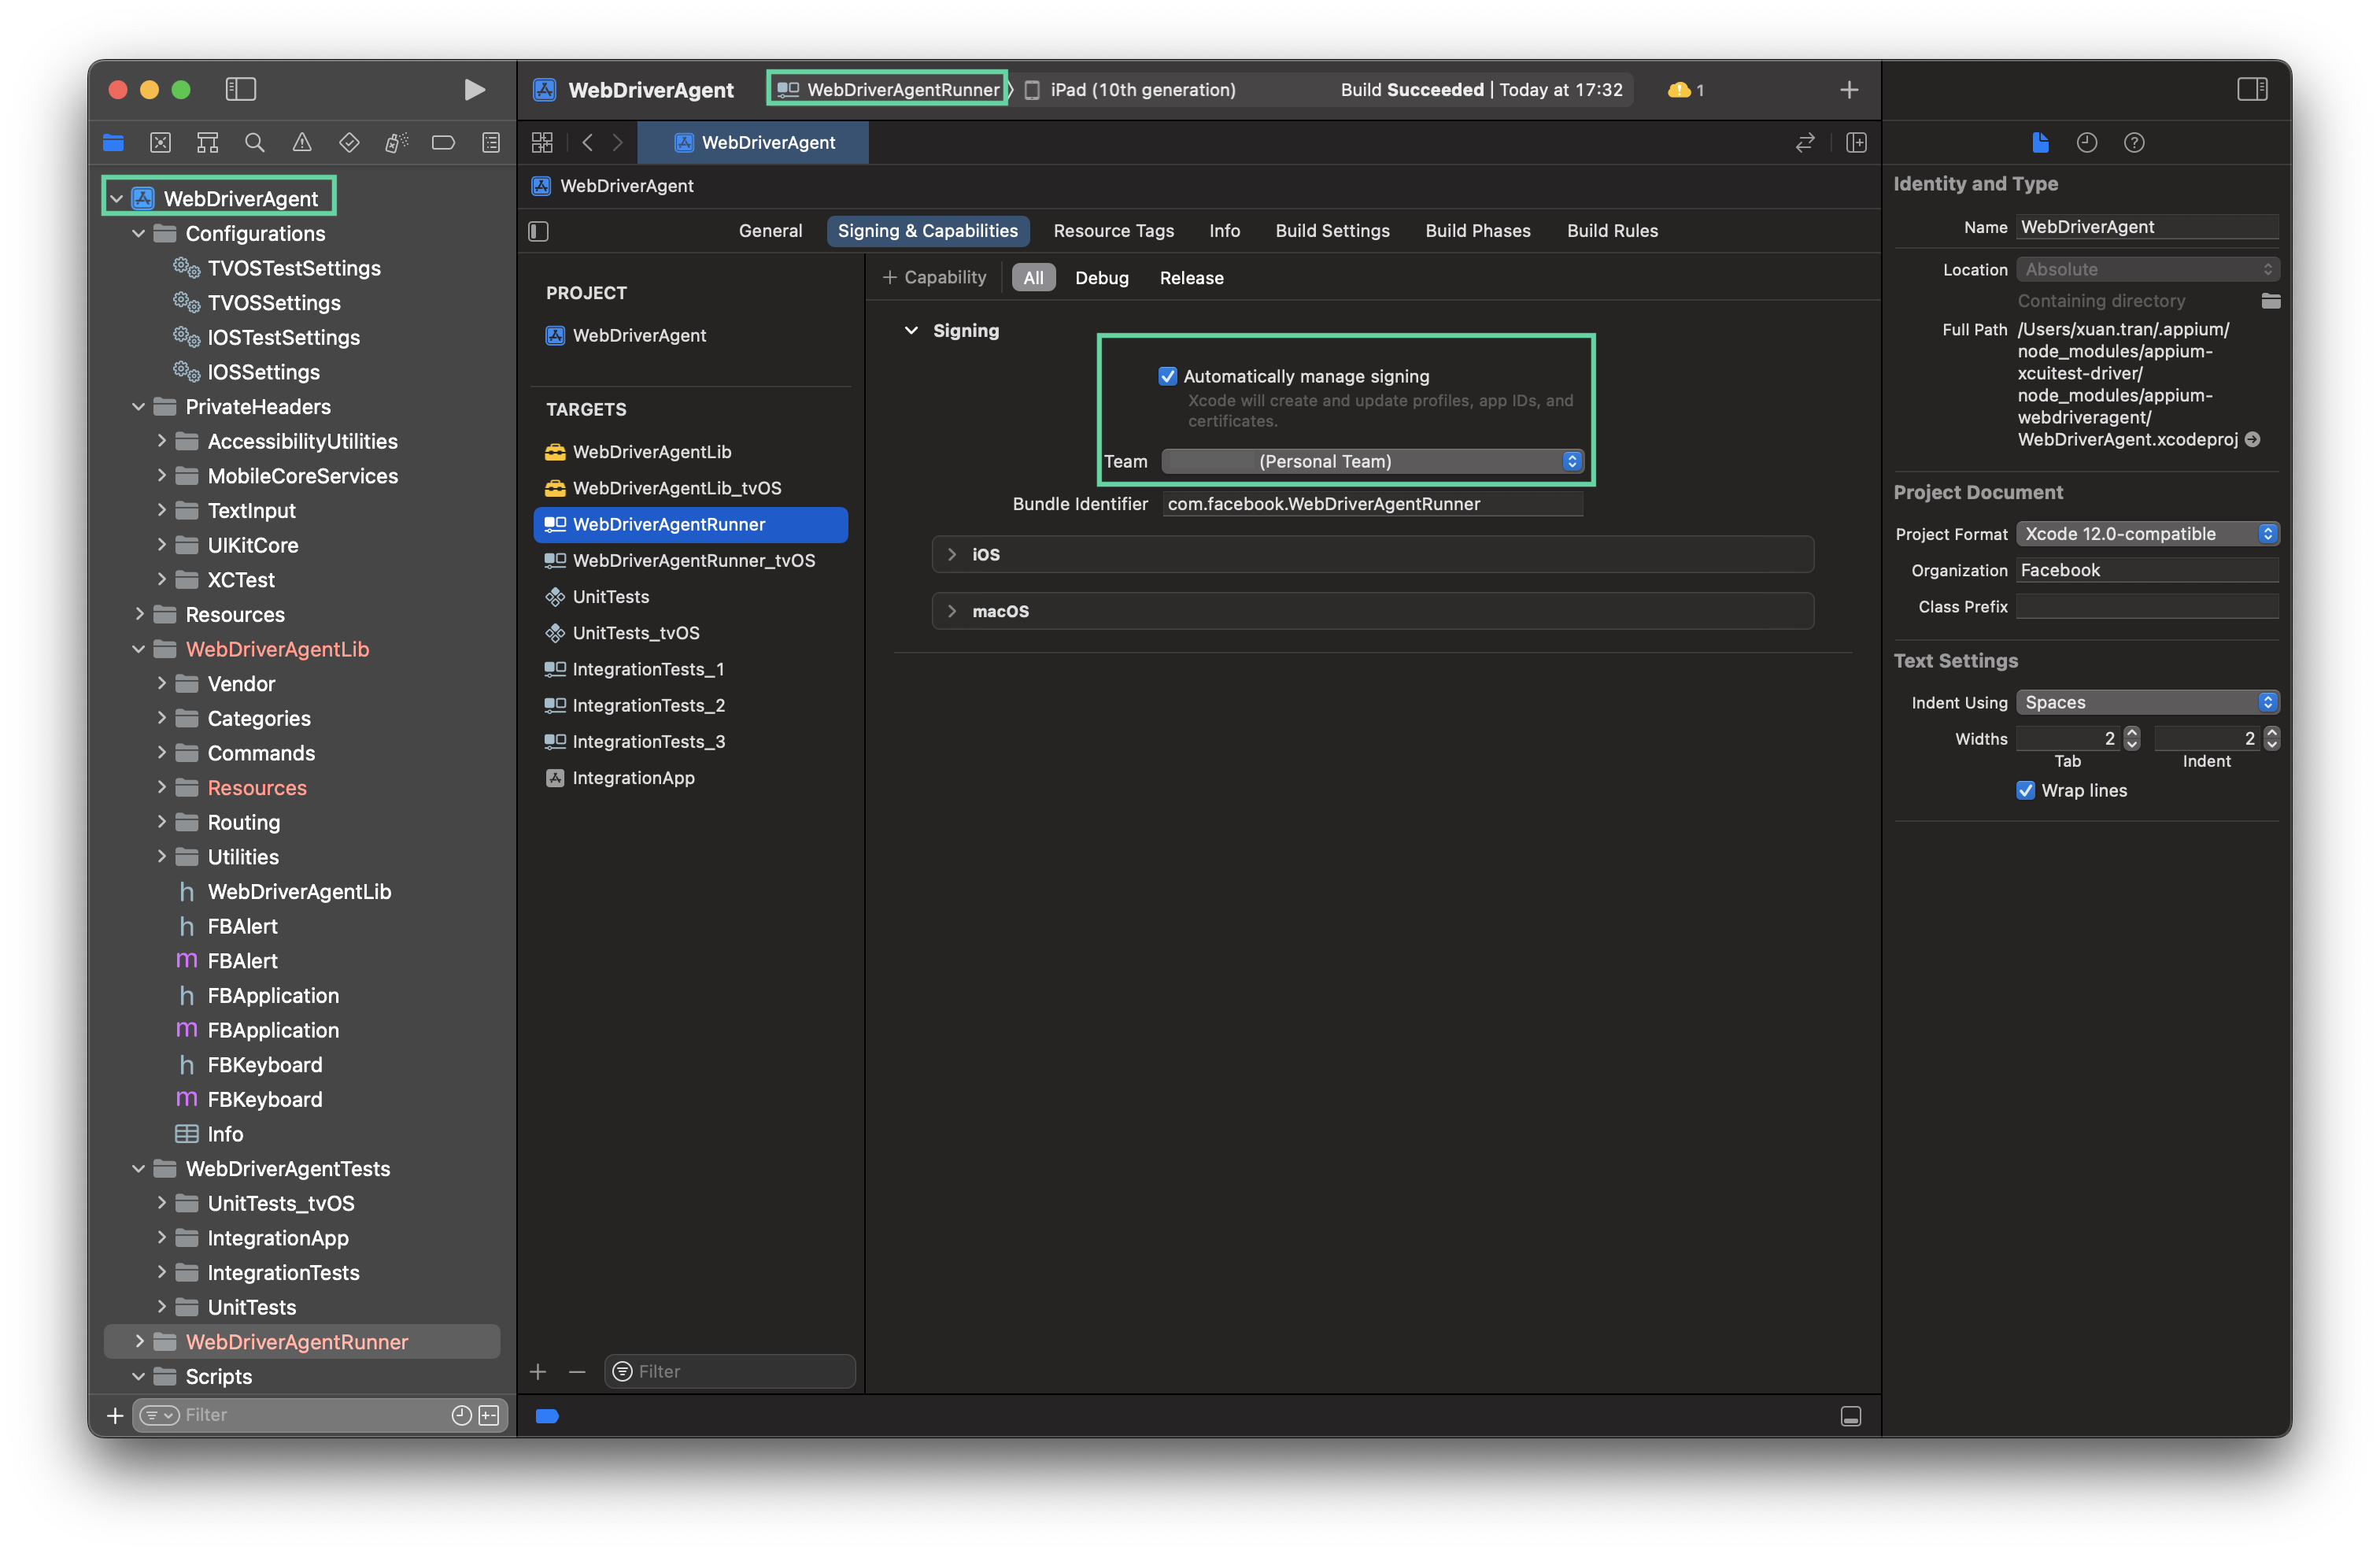
- Build the WebDriverAgentRunner target with the following steps:
- Select the WebDriverAgentRunner target. In the Signing & Capabilities section, check the Automatically manage signing box, then choose a team added in Step 1.
- Select the WebDriverAgentRunner target. In the Signing & Capabilities section, check the Automatically manage signing box, then choose a team added in Step 1.